The first step to connecting Daylite to Memtime is to install it as a Connected App.
To install Daylite as a Connected App, you can try the following:
1. Open the Memtime App and click on the menu burger to select Connected Apps.
2. If you do not already see Daylite as a Connected App, you can click on the "Find More Connected Apps" button to easily find it.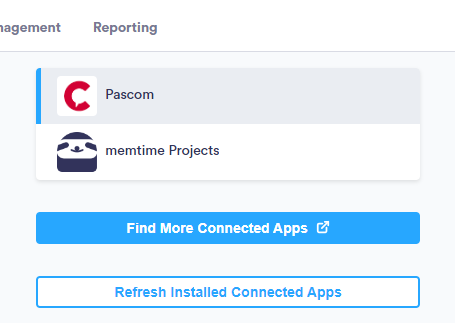
3. This will take you to your browser, and the Memtime marketplace website will open. You can search here for 'Daylite' or any other Connected App you would like to try. Once you select Daylite, click on the "Connect to Daylite" button.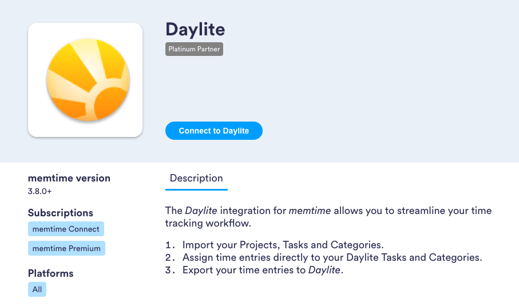
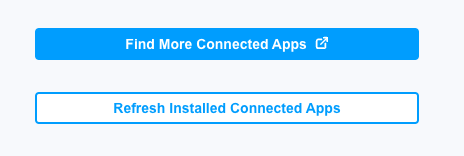
4. After connecting, go back to your Connected Apps in Memtime and click on "Refresh Installed Connected Apps" to see Daylite installed.
The next step is to authenticate Daylite in Memtime.
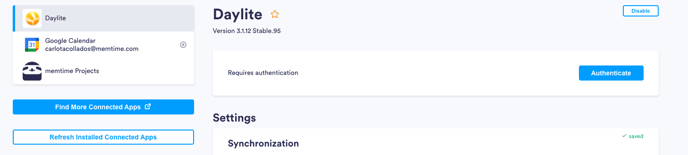
1. Select Daylite in your Connected Apps in Memtime and click on "Authenticate".
2. A Pop-up window will appear to ask you for your Daylite credentials.

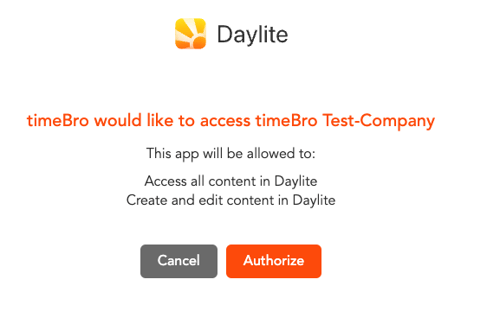
3. Then, you will have to enable Memtime to have access to Daylite.
4. Go back to your Connected Apps in Memtime and click on "Refresh Installed Connected Apps" to see Daylite authenticated.
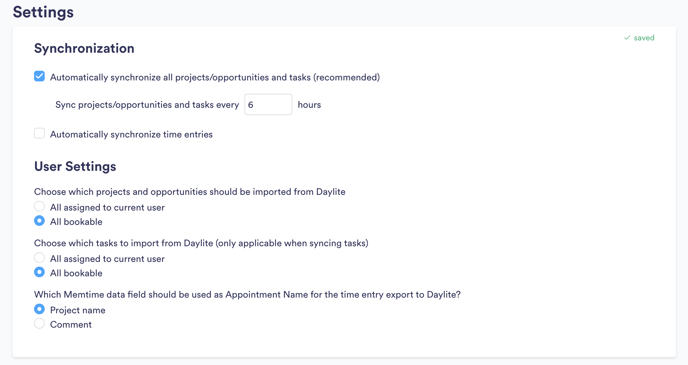
5. After authenticating Daylite, you can change some settings according to your preferences. You can set different synchronization methods and select which projects and tasks should be imported from Daylite.
That's it! Now you can use the Daylite integration in Memtime. Here's a video that shows the complete installation process, as well as how to create and export time entries: