You might have already done this first step. This is because you can install your calendar as a Connected App in the initial setup when you first open Memtime on your device.
Step 1: Install Your Calendar as a Connected App
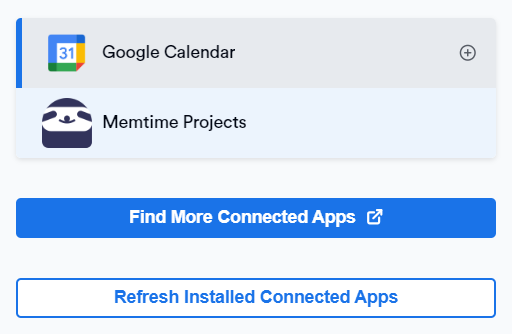
1. Open Memtime, and click the menu icon to go to Connected Apps.

2. If your calendar is not listed, click Find More Connected Apps.
3. Use the search bar to find your calendar. Click Install on the Memtime website.

4. Return to Memtime and click Refresh Installed Connected Apps.
Step 2: Authenticate Your Calendar
-
In Memtime, in the Connected Apps settings, click on your calendar in the list on the left.
Then click on Authenticate.

2. Choose your preferred method of authentication, and input your credentials.

3. If you select Generic calDAV Provider, you will be asked to input your username, password and server URL.
You can usually find your server URL in the settings of your calendar.

Memtime does not request individual calendar URLs. Instead, we connect to the CalDAV server URL to access all available calendars linked to that account.
4. Once you finish this step, your calendar will show as authenticated.
In this section, you can select which calendars should be visible in Memtime.

Once you finish this step, the calendar is connected, and you should be able to see your calendar events in your Memtime timeline.