Step 1: Install Mite as a Connected App
1. Open the Memtime app and click on the menu icon (☰). Select Connected Apps.

2. If Mite is not listed among the Connected Apps, click on "Find more Connected Apps" to search for Mite and install it.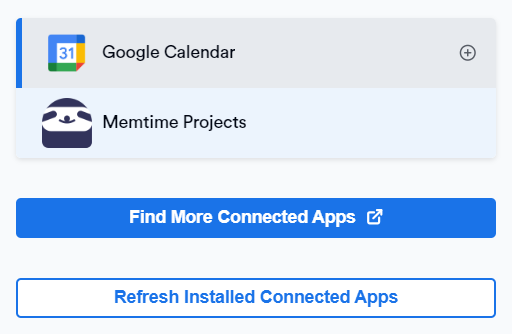
3. The Memtime Marketplace website will open in your browser. Enter Mite in the search bar or browse for another Connected App you would like to try.
Once you find Mite, click on "Install".

4. A pop-up window will appear asking you to enter your Mite URL details.
5. To find your mite host, log in to your account on the mite website and copy the URL from there.

6. Go back to the Memtime app and click on: Memtime menu (☰) → Connected Apps.
Click on "Refresh installed Connected Apps" to display Mite in the list of Connected Apps.

Step 2: Authenticate Mite
1. In Memtime, select Mite from the list of Connected Apps and click on "Authenticate".
Alternatively, you may be prompted to authenticate automatically.

Memtime will ask you to input your mite API key.
2. To find your API key, log in to your mite account and open your user settings.
There you will find an option to allow API access, and to view your API key. Copy it and paste it into Memtime.
3. After the authentication is completed, click on "Refresh installed Connected Apps" to make sure Mite is authenticated.
4. Select Mite in the Connected Apps menu to open the settings.
Here you can adjust the settings according to your needs.

Step 3: Create Mite time entries in Memtime
1. Open the Project Management tab in Memtime.
Click the refresh option to make sure all your projects have been imported.
Only projects and tasks assigned to your user are imported by Memtime. Make sure they are assigned to your user before expecting them to appear in Memtime.
2. Go to the Time Tracking tab and create time entries by clicking and dragging in the time entries area. In the time entry window, you can now select Mite as the Connected App.

3. As soon as you create a time entry in Memtime for one of your Mite tasks, it will automatically sync with your Mite account.
On the Mite website, you can view your booked times under Time Tracking → Date of your entry, and find more detailed information there.

Automatic Synchronization:
Memtime automatically exports time entries created in Memtime to Mite. Similarly, any time entries created directly in Mite are exported to Memtime by default.