How to Connect to Autotask
You can now connect Memtime to Datto Autotask PSA and take your time-tracking to the next level.
Step 1: Install Autotask as a Connected App
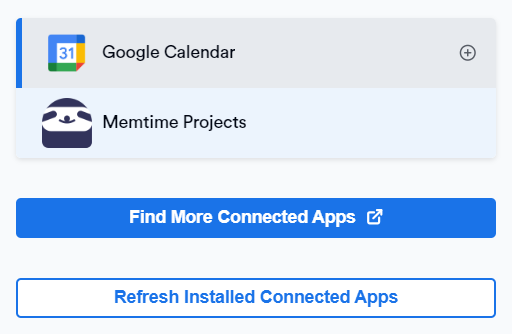
1. Launch the Memtime App and navigate to the menu icon. Select Connected Apps.
2. If Datto Autotask is not listed as a Connected App, click Find More Connected Apps to find it and install it.
3. The Memtime Marketplace website will open in your browser. Search for Autotask in the search bar, or any other Connected App you’d like to try.
Once you find Autotask, click Connect to Datto Autotask PSA.

4. A new window will open, asking you to enter the following credentials.

Step 2: Finding your API credentials
1. If you don't have an API user set up in Autotask, the first step is to go to the Autotask website, and click Admin settings.

2. Then select Resources (Users).
3. Then, you can click on the option New API User, when you hover over the button for additional options.

If you already have an API user in Autotask, you can find your API username and secret in the same section of settings (Admin → Resources).
4. During the configuration of the fields in the first section, make sure to first set the Security Level to API User (system).
In this section, you can enter an email address. However, please note that this email is different from the one required on the Memtime website. On the Memtime website, you need to enter your Autotask account email, regardless of the API user email you enter here.
5. In the second part of the settings, make sure to set your tracking identifier to Integration Vendor.
Then, search for Memtime in the dropdown menu, and select it.
This section will show your API Username, and Secret. Copy them both, and save them somewhere so you can reuse them.
6. Click Save & Close on the Autotask website. 
Then, go to the Memtime website, use your stored credentials, and click Submit.

During this process, remember to first save the changes in Autotask before proceeding to the Memtime website to input this information.
Also, remember to enter your Autotask account email, regardless of the API user email you saved previously.
For more details, here's a video that shows this complete process.
Step 3: Authenticate Autotask
1. Open Memtime, and go to Menu (☰) → Connected Apps, and click Refresh Installed Connected Apps to see Autotask listed as a Connected App.
2. Select Autotask from the Connected Apps list and click Authenticate Now.
You will also be automatically prompted to authenticate.

3. A pop-up window will appear where you can input your either your Autotask username or email.
Then click on Save.

Depending on your Autotask setup, this window may require your Datto Autotask username, not your email address.
If this is the case, you can enter only the first part of your email to authenticate. E.g. Email: PPierce@timebrosandbox.com → Username: PPierce
4. Your Autotask integration is now authenticated.
In this section, you can also adjust your settings for Autotask, and select which ones should be visible.

Step 4: Create Autotask Time Entries in Memtime
1. Open the Project Management tab in Memtime. Click on the Refresh button to ensure all your projects are imported.
By default, only tickets or tasks where you are the primary resource in Datto Autotask PSA are imported into Memtime.
Ensure they are correctly assigned to you in Datto Autotask or adjust the import settings in Connected Apps.
2. Go to the Time Tracking tab and create time entries by clicking and dragging in the Time Entries column.
The Time Entry window will now offer you the option to select Autotask as a Connected App.
3. Log in to your Autotask account and go to My → Current Timesheet or any task with time entries to view the time entries synced from Memtime.

Automatic Synchronization:
Memtime automatically exports time entries created in Memtime to Autotask. Similarly, any time entries created directly in Autotask are exported to Memtime by default.
Here's a video that shows the whole process: