Step 1: Install Jira Cloud as a Connected App
1. Launch the Memtime App and navigate to the Menu (☰) icon. Select Connected Apps.
2. If Jira Cloud is not listed, click Find More Connected Apps.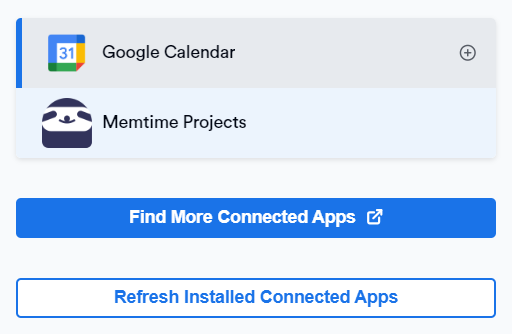
3. The Memtime Marketplace website will open in your browser. Search for Jira Cloud in the search bar, or any other Connected App you’d like to try.
Once you find Jira Cloud, click Connect with Jira Cloud.
Step 2: Authenticate Jira Cloud with Memtime
1. Open Memtime, and go to Menu (☰) → Connected Apps.
Then, click on Refresh Installed Connected Apps to see Jira Cloud listed as a Connected App.
2. Select Jira Cloud from the Connected Apps list and click Authenticate now. You will also be automatically prompted to authenticate.

3. A new window will open to request your Atlassian credentials, where you can choose your preferred way to log in.

4. Then, grant Memtime access in order for it to be able to connect with your Jira Cloud account, by scrolling down and clicking on Accept.
In case you have 2-Step Verification turned on, you might also be asked to provide your full phone number in order to receive a verification code by text message.
5. After authentication, you can select Jira Cloud from Menu (☰) → Connected Apps, to access its settings.
Here, you can customize the settings to match your preferences, and change your Search Query (JQL) to anything that suits you.

Step 3: Adjusting Your JQL Query
By default, Memtime imports all tasks assigned to you using this query:
assignee = currentUser()
If you want to create a more specific search query, you can use ChatGPT for help. For example, you can try the following prompt:
Can you create a JQL search query that will give me all projects that are assigned to me and also are not completed, closed or canceled?
After changing your JQL query, make sure to refresh the Project Management tab in Memtime to apply your changes. We’ll cover that in the next step.
Step 4: Create Jira Cloud Time Entries in Memtime
1. Open the Project Management tab in Memtime and click the Refresh button to import your latest tasks and projects.
2. Switch to the Time Tracking tab and create a time entry by clicking and dragging in the Time Entries column.
In the Time Entry window, you’ll now see Jira Cloud available as a Connected App.

3. Log into your Jira Cloud account and open any ticket with logged time. You’ll see that time entries from Memtime are automatically synced.
Automatic Synchronization:
Memtime automatically exports time entries created in Memtime to Jira Cloud. Similarly, any time entries created directly in Jira Cloud are exported to Memtime by default.
You’re now ready to start tracking time for any Jira Cloud projects or tasks! Here’s a video that shows how the process works: