![memtime-light-2x.png.png]](https://knowledgebase.memtime.com/hs-fs/hubfs/memtime-light-2x.png.png?height=40&name=memtime-light-2x.png.png)
Availability: This integration is included only in the following subscription plans:
- Memtime Connect
- Memtime Premium
Users on other plans need to 🔗 upgrade their subscription to gain access to it.
Step 1: Install Toggl Track as a Connected App
1. Open the Memtime app.
2. Click on the following:
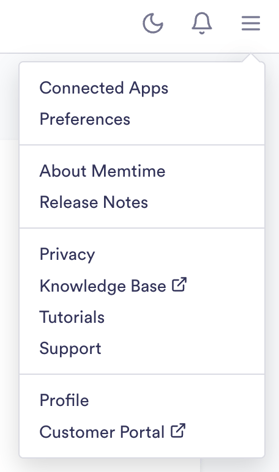
Menu icon (☰) → Connected Apps
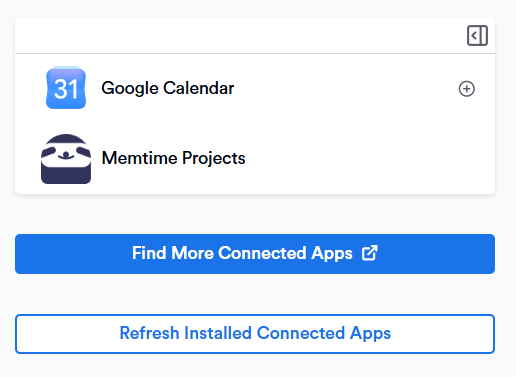
3. If Toggl Track is not listed in the list of your Connected Apps, you can click on the button Find More Connected Apps.
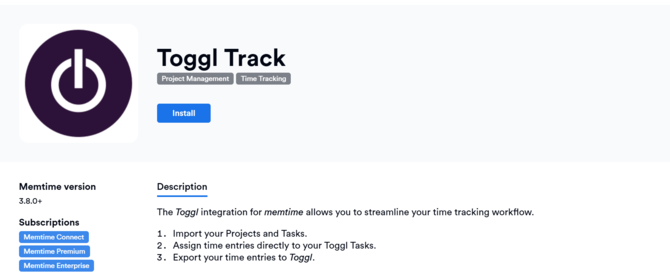
4. The Memtime Marketplace website will open in your browser.
You can enter Toggl Track in the search bar or browse for another Connected App you would like to try.
Once you find Toggl Track, click on Install.
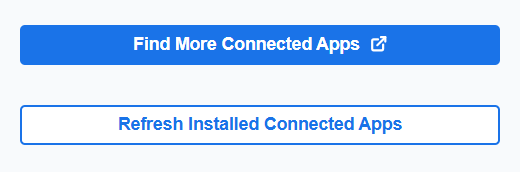
5. Go back to the Memtime app. Then click on the following:
Menu icon (☰) → Connected Apps → Refresh Installed Connected Apps
Step 2: Find the Toggl Track API key
1. You can find your Toggl Track details by navigating directly in Toggl Track to the following section:
Profile → Profile Settings

2. Scroll down until you find the API Key. Copy it and paste it in the Memtime App.
Step 3: Authenticate Toggl Track
1. In Memtime, select Toggl Track from the list of Connected Apps and click on Authenticate.
Alternatively, you may be prompted to authenticate automatically.
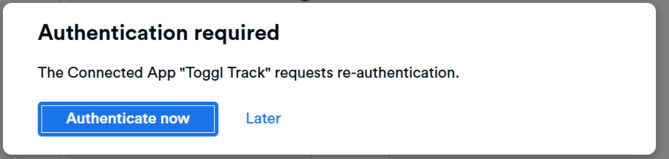
2. A Pop-up window will appear to ask you for your credentials.
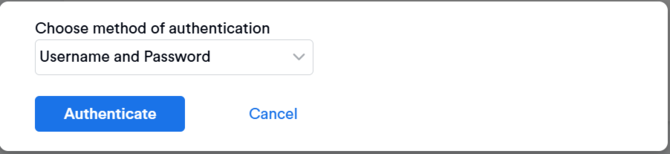
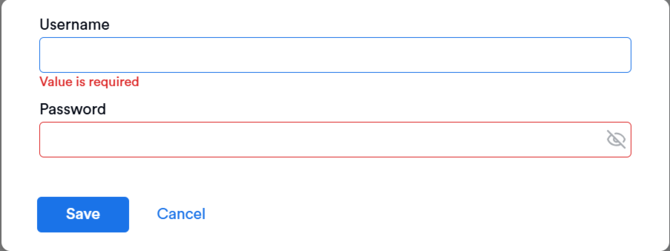
3. You can also authenticate Toggl Track via API Key. 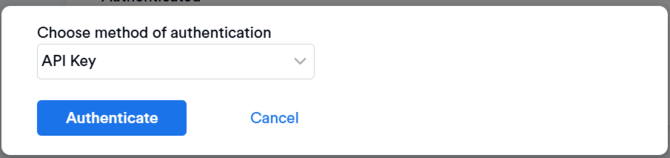
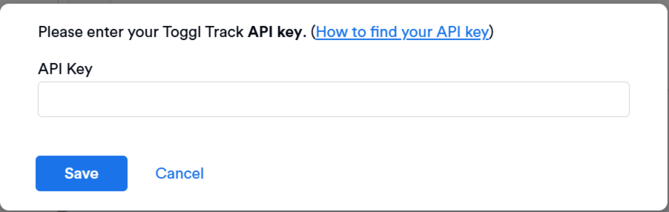
4. After the authentication is completed, click on Refresh Installed Connected Apps to make sure Toggl Track is shown as authenticated.
Step 4: Create Toggl Track time entries in Memtime
1. Open the Project Management tab in Memtime.
Click the refresh option to make sure all your elements have been imported.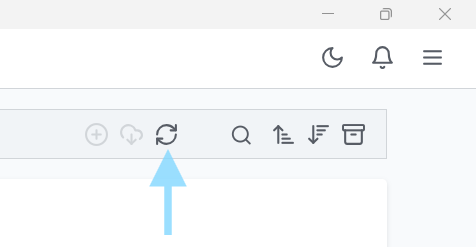
2. Go to the Time Tracking tab and create time entries by clicking and dragging in the time entries area.
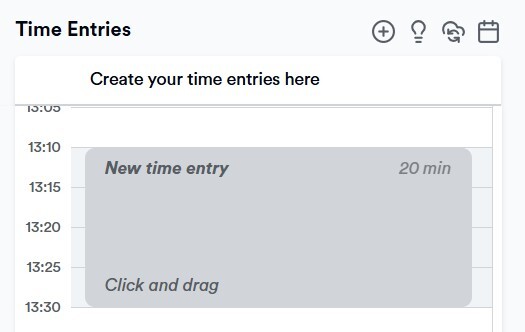
In the time entry window, you can now select Toggl Track as the Connected App.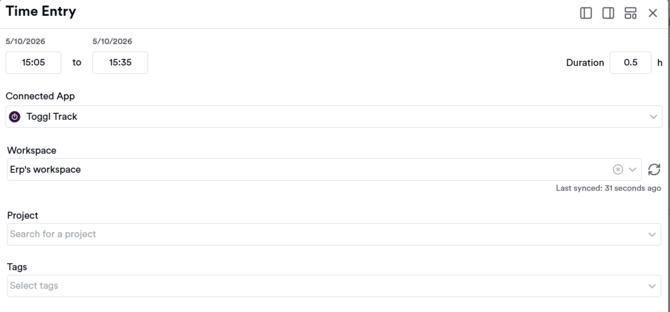
Attention! If you see a mismatch between the total working times in Memtime and the time recorded in Toggl Track, you must modify certain settings. Take a look at 🔗this article to learn more about it.
3. As soon as you create a time entry in Memtime for one of your Toggl Track elements, it will automatically synchronize with your Toggl Track account.
On the Toggl Track website, you can view your booked times under Timer where all future time entries will synchronise too.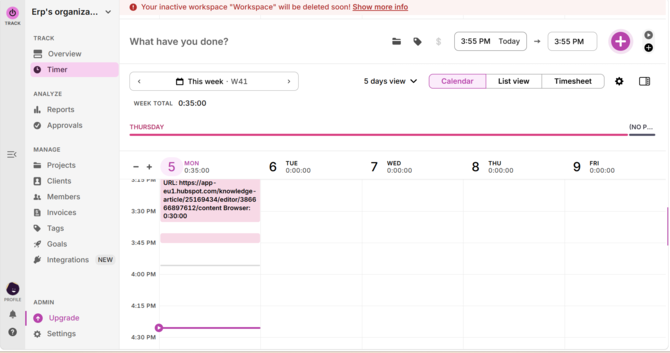
Automatic Synchronization:
Memtime automatically exports time entries created in Memtime to Toggl Track. Similarly, any time entries created directly in Toggl Track are exported to Memtime by default.
Video Summary:
If you want to see the whole process in action, you can watch this video and follow it step by step.
Support
Need help with the article or have any questions? Reach out to us anytime at: