Step 1: Install ZEP as a Connected App
1. Launch the Memtime App and navigate to the menu icon. Select Connected Apps.
2. If ZEP is not listed as a Connected App, click Find More Connected Apps to find it and install it.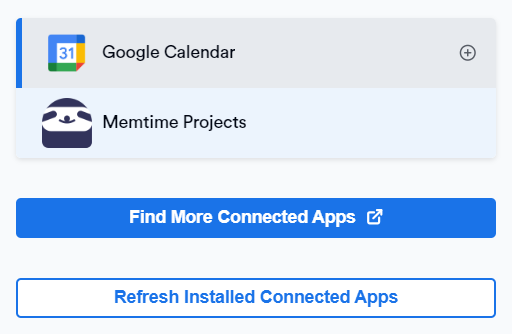
3. The Memtime Marketplace website will open in your browser. Search for ZEP in the search bar, or any other Connected App you’d like to try.
Once you find ZEP, click Connect with ZEP.

4. A new window will appear to request your ZEP credentials:

Step 2: Finding your API credentials
1. Open ZEP in a new browser tab, and in the side menu on the left, select Administration.

2. Look for the section Interfaces, and click on SOAP Interfaces.

3. Copy your ZEP Wsdl Location and Authorization token, and use them on the Memtime website.

4. Return to the Memtime app and go to Menu → Connected Apps.
Click Refresh Installed Connected Apps to see ZEP listed as a Connected App.
Step 3: Authenticating ZEP
1. Go to the Memtime app, and select ZEP from the Connected Apps list, and click Authenticate.
Alternatively, you will also be automatically prompted to authenticate.

2. A Pop-up window will open. Enter your credentials to connect Memtime with your ZEP account.
3. After authentication, select ZEP from the Connected Apps menu to access its settings. Here, you can customize the settings to match your preferences.
Step 4: Create ZEP Time Entries in Memtime
1. Open the Project Management tab in Memtime. Click on the Refresh button to ensure all your projects are imported.
2. Go to the Time Tracking tab and create time entries by clicking and dragging in the Time Entries column.
The Time Entry window will now offer you the option to select ZEP as a Connected App.
3. Log in to your ZEP account and go to your Dashboard or Project Times to view the time entries automatically synced from Memtime.
Automatic Synchronization:
Memtime automatically exports time entries created in Memtime to ZEP.
Here's a video that shows the whole process: