Click here if you have our 3.8.9 timeBro version or older installed on your computer.
Download and installation
1. If you have not downloaded the app during the account creation you can download it here.
2. Open the installation file and follow the instructions on screen.
Once you launch Memtime for the first time you will need to complete the following configuration process:
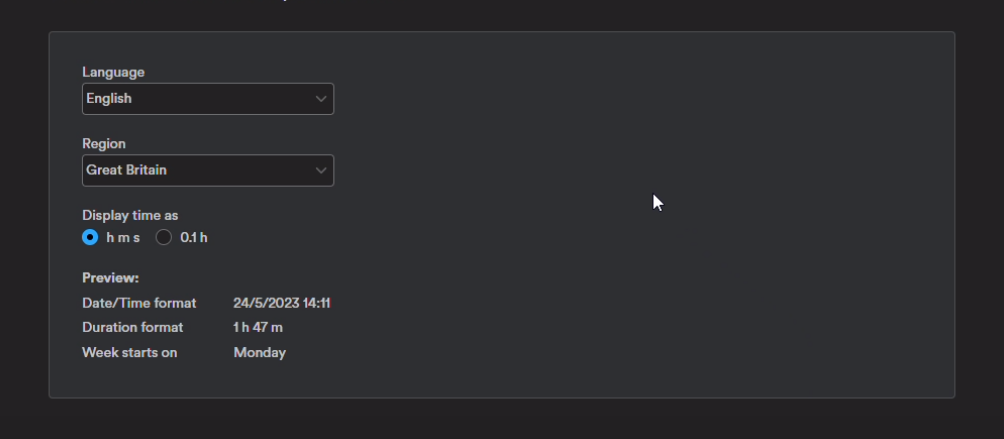
1. The first step is to configure the Language and Region for your Memtime.
- You can determine the Date and Time format shown in the App.
- Select how you want to display time in the app. "h.m.s" or decimals 0.1h.
2. The next step is to determine if you want your activities to be tracked in a 5 minute or 6 minute interval.
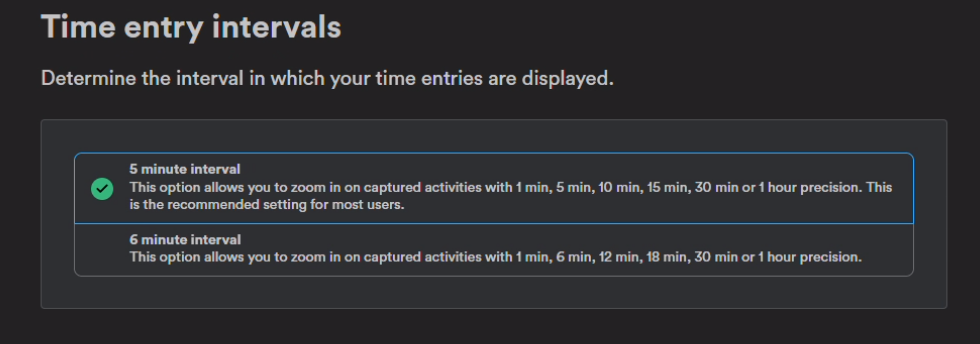
- The 5-minute interval will allow you to zoom the detailed view of activities in your timeline to 1 min, 5 min, 10 min, 15 min, 30 min and 1 hour.
- The 6-minute interval will allow you to zoom the detailed view of activities in your timeline to 1 min, 3 min, 6 min, 12 min, 18 min, 30in and 1 hour.
You can find out more about how Memtime tracks activities here.
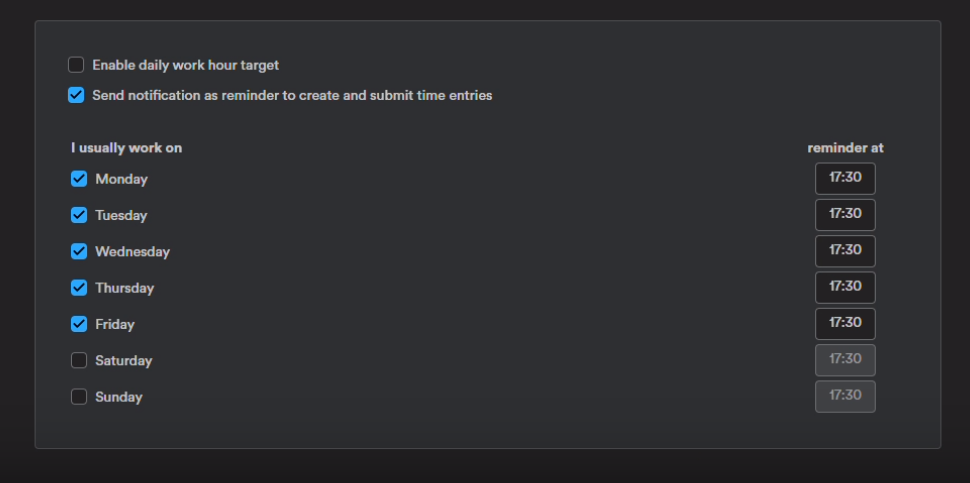
3. In the next step you can set up if you want to have a daily target of hours worked and set a reminder to create time entries.
-
Enabling daily work hours will show you the target hours in the main time tracking page of Memtime.
-
You can also set up notifications to remind you to create time entries based on your automatically captured activities.
4. The next step is connecting your calendar.

You can connect your calendar to be able to see your calendar entries in Memtime. The calendar entries together with the captured activities, will give you a full picture on what you did in a given day.
To connect the calendar, just click on the install button next to your calendar like shown on the screenshot. You can also connect multiple calendars.
Additional calendars can be connected at any time later.
5. The next step is to set up how you want to organize your projects.

There are 3 ways to use Memtime:
- If you want to use Memtime just for captured activities and you don't need to book time entries to a clients or projects you can click on "continue without project management".
- The second option is to use Memtime Projects. This will allow you to create clients, project, matters and tasks in Memtime. To learn more about project creation click here.
- The third option is to import your projects and tasks from a connected app.
If you have connected your ERP Project management software with Memtime during your Account Creation you will be able to import all of your projects and clients from your software. If you have skipped that step in the account creation you can click on "find more connected apps" during this configuration step.