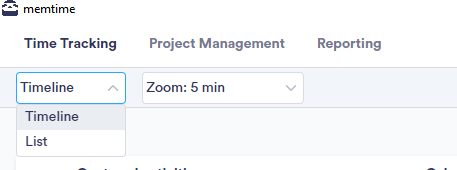
To switch between the Timeline view and the List view, you can click the drop-down menu on the Time Tracking tab in Memtime:
1. Timeline View:
The Timeline view provides a chronological overview of your entire day, displaying the duration of each activity, as well as the time period when it was recorded.
The Timeline view is better in case you prefer to arrange your daily activities in the order they happened, with clear time markers. It uses visual cues to show how long each activity lasted. This helps you understand the flow of your day, when things occurred, and how much time you spent on each task, making it easier to plan and manage your time effectively.
To learn more about how to create time entries in our Timeline view, click 🔗here.
2. List View
In the List view, the hours of the recorded activities are grouped and summarized, regardless of when the activities took place during the day.
List view is better in case you prefer to see your recorded activities grouped and summarized, no matter when they happened during the day. This makes it easier to see an organized list of what you did, without worrying about the exact order or time of each activity. It's like a neat summary of your day's actions.
How to use the List view:
In List view, you can CTRL-click any activity in the "Not Assigned" column, and drag it to the field on the right to create a time entry for it.
You can also select multiple activities by CTRL-clicking and then drag them to the right to create time entries for multiple activities simultaneously.
Video Summary
If you want to see the List View in action, you can watch this video and follow it step by step.
Support
Need help with the article or have any questions? Reach out to us anytime at: